DIY Toilet Paper Roll Flowers – Turn Trash into Cute Home Decor!
Looking for a fun and creative craft to do with kids? These toilet paper roll flowers are the perfect spring or summer project! With just a few toilet paper rolls, some paint, and a bit of creativity, you can make tulips and daisies (yep, that’s the other flower!).
This post includes affiliate links. If you purchase a product with the links that I provide I may receive a small commission. There is no additional charge to you. View the disclosure for more information.

This craft is super simple, budget-friendly, and a great way to recycle. Plus, they make the cutest DIY spring home décor! Display them on a shelf, use them as a table centerpiece, or even create a floral garland to brighten up any space.
More Toddler Gift Guides
- 25 Unique Toddler Gifts They’ll Use Again and Again
- Magical Watercolor Paper Roll Butterfly Craft
- DIY Paper Roll Dolls
- Magical Fairy House Made from Toilet Paper Rolls
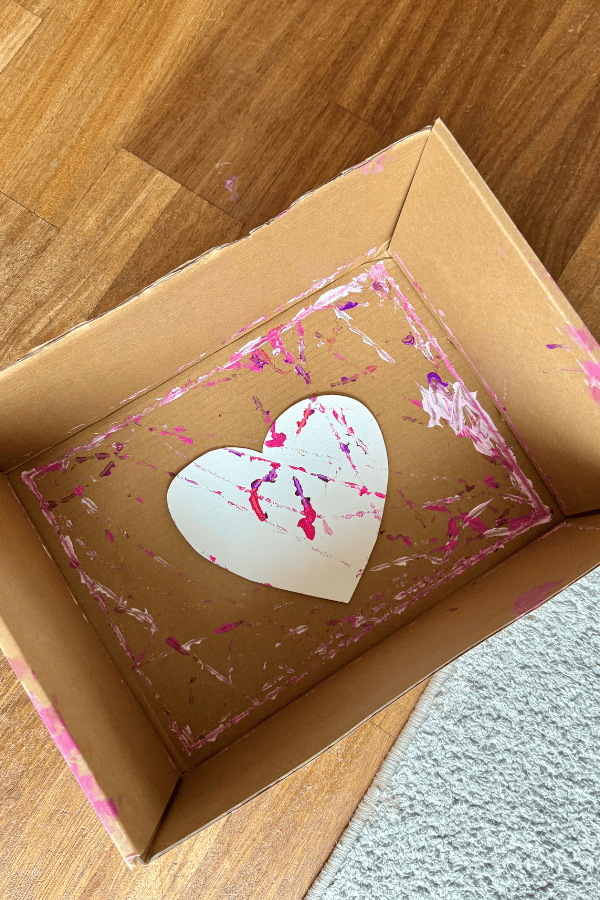
- Toilet Paper Roll Heart Garland
- Recycled Crab Craft
What You’ll Need
- Empty toilet paper rolls
- Scissors
- Pencil
- Acrylic or poster paint
- Paintbrushes
- White marker or dry brush (for texture details)
How to Make Toilet Paper Roll Flowers

Step 1: Flatten the Toilet Paper Rolls
Press the toilet paper roll flat. This makes it easier to draw and cut the flower shape. Plus, it helps the flowers stand up better when finished—perfect for displaying around the house!
Step 2: Draw Your Flower Shapes
Use a pencil to sketch your flowers.
- For tulips, create a pointed or zigzag top.
- For daisies, sketch rounded petals.
- Don’t forget the leaves at the bottom! These will help your flowers stand upright for the perfect spring décor piece.

Step 3: Cut Out the Flowers
Carefully cut along your lines. If you’re doing this craft with kids, they might need a little help with this step.

Step 4: Time to Paint!
Now comes the fun part—painting! Here are some fun techniques to try:
- For tulips: Blend two colors together (half and half) for a cool gradient effect.
- For daisies: Start with one color, then use a dry brush with white or a lighter shade to add dimension.
- For extra texture: Use a white marker to add highlights and details, or try a dry brush with white or a lighter shade than your base color for a soft, natural look.
Want your flowers to match your home décor style? Choose colors that complement your space—soft pastels for a subtle look or bold, bright hues for a fun pop of color!

Step 5: Let Them Dry and Display
Once the paint is dry, your flowers are ready to be displayed! These make adorable spring home decorations—arrange them in a vase, line them up on a mantel, or even attach them to a string for a cute floral garland.

FAQs
Can I use different types of paint?
Yes! Acrylic paint works best for vibrant colors, but kids’ washable paint works too.
Do I need to seal the paint?
Not unless you want extra durability! If you plan to keep them for a long time, a light coat of Mod Podge or clear glue will help.
Can I make other flower shapes?
Absolutely! Try roses, sunflowers, or even funky, made-up flowers.
This toilet paper roll flower craft is such a fun, easy, and eco-friendly way to get creative with kids. Plus, they double as charming spring home décor! Whether you place them on a shelf, use them as table decorations, or string them together for a floral garland, they’re sure to brighten up any space.
So grab some paint, flatten those rolls, and let’s make some colorful blooms!
Happy crafting!
Like this post? Pin it to save for later!


More Toddler Gift Guides
- 25 Unique Toddler Gifts They’ll Use Again and Again
- Magical Watercolor Paper Roll Butterfly Craft
- DIY Paper Roll Dolls
- Magical Fairy House Made from Toilet Paper Rolls
- Toilet Paper Roll Heart Garland
- Recycled Crab Craft