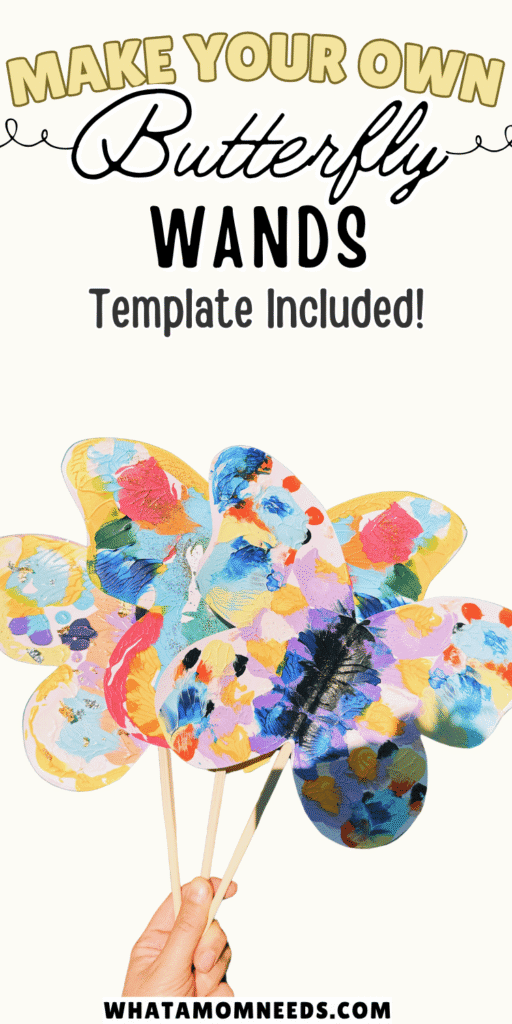
Mirror Painting Butterfly Wands – A Simple and Sweet Craft for Kids
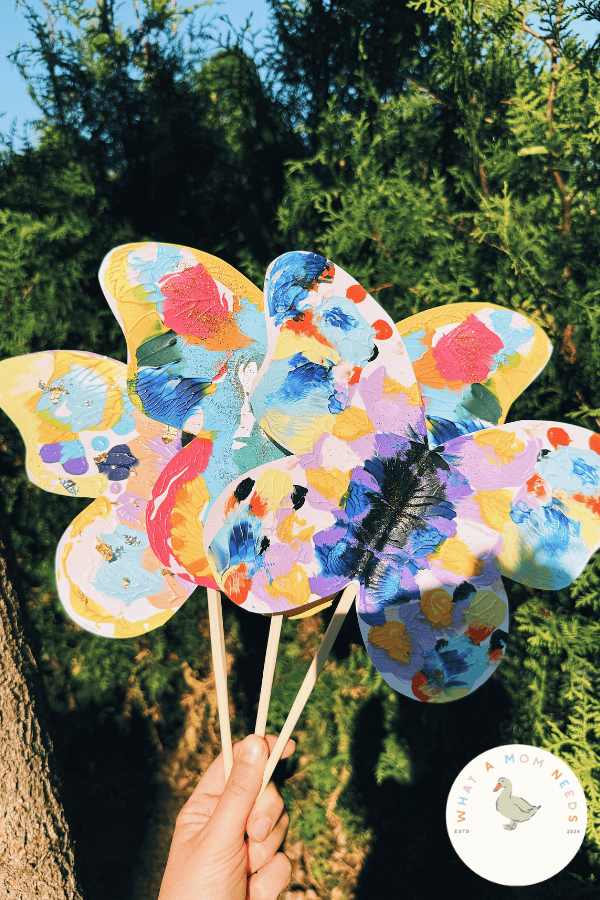
Okay but how magical are these little wings?!
This simple mirror painting butterfly craft was such a win.
It’s one of those activities that feels extra pretty, but doesn’t need fancy tools or hours of prep.
And the best part? The mirror paint technique is SO satisfying (for toddlers and adults). Just saying.
Let’s get into the fun stuff.
There’s a free template waiting for you at the bottom of the post (no sign up, just print and go!)
What is Mirror Painting?
If you’ve never tried this before — ooh, you’re in for a treat.
Mirror painting is basically where you paint one side of something, fold it, press it gently, and then open it up to reveal a beautiful symmetrical surprise. Think of it like a mini butterfly Rorschach moment, but cute.
It’s especially great for little ones because:
- It teaches symmetry in the most visual way possible
- There’s no “wrong” outcome — every butterfly is totally unique
- It’s quick and easy, but super satisfying to reveal the pattern
- You can keep it neat(ish)… or let it get totally wild

What You’ll Need
Here’s what we used to make these colorful butterfly wands:
- Printable butterfly template
- Thick paper or cardstock
- Paint (acrylics or kids’ paint both work)
- Paintbrushes or little sponges
- Glitter (optional but fun)
- Wooden sushi sticks or skewers
- Glue
- Paper towel or cloth (just in case things get a little… enthusiastic)
Video Tutorial
How to Make a Mirror Painting Butterfly
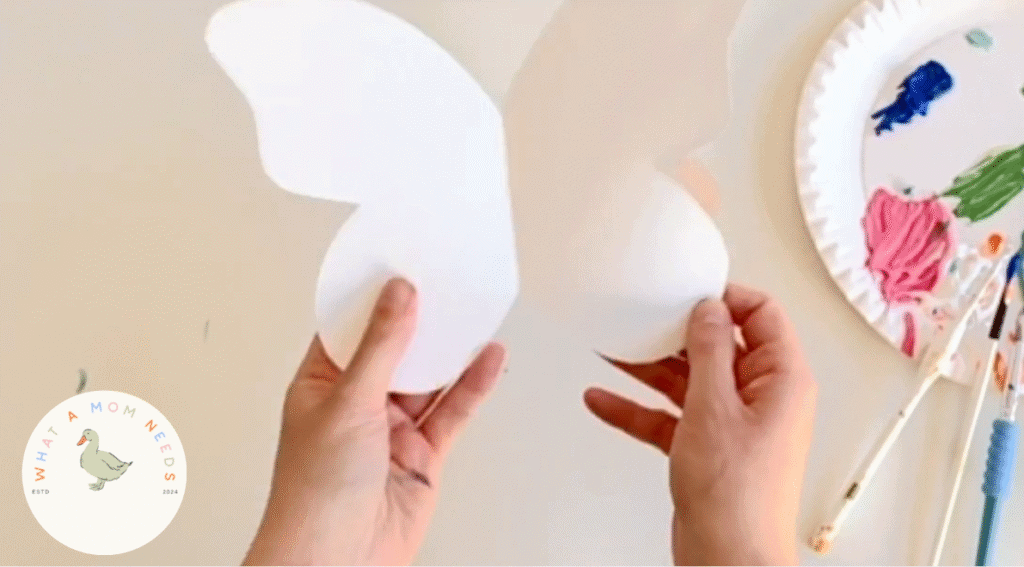
Step 1 – Print or draw your butterfly shape
You’ll want something symmetrical so both wings match up when you fold.
We printed it on thick paper.
You can also fold a sheet in half, draw half a butterfly, and cut it out — old school style.
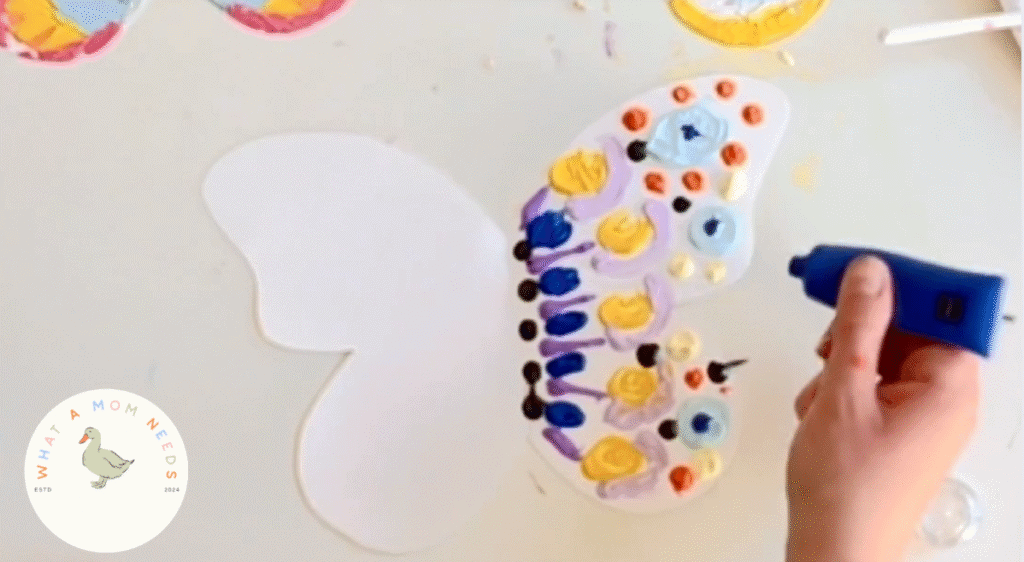
Step 2 – Paint one side only
Pick one half of the butterfly and go wild with the colors.
Bright blobs, wavy stripes, little swirls — anything goes.
Just make sure to use a good amount of paint. Not dripping, but juicy enough to press.
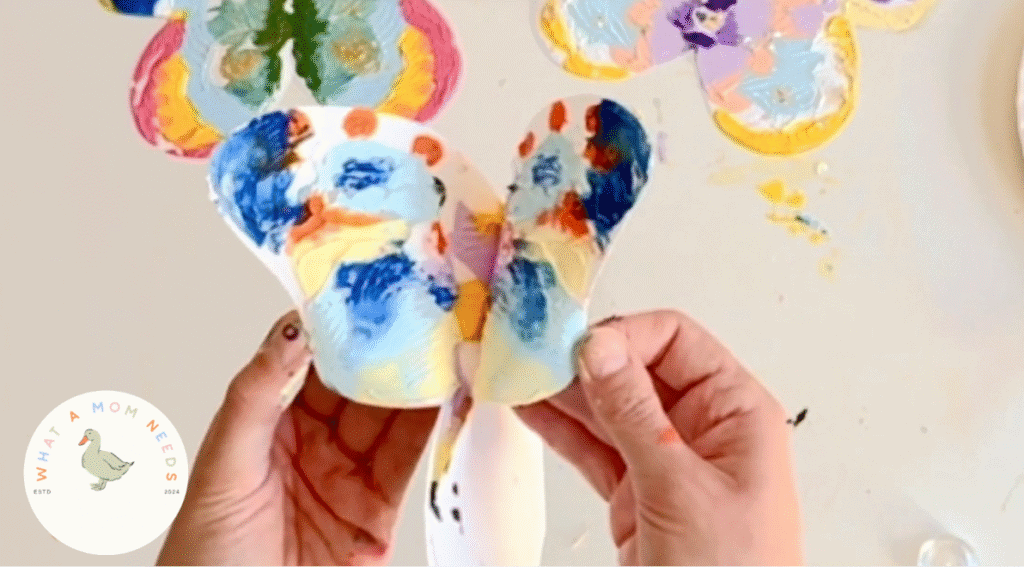
Step 3 – Fold and press
Now comes the magic part.
Carefully fold the butterfly along the center, press gently but firmly, and then open it back up.
(Heads-up: a bit of paint might squish out the edges — no biggie. Keep a cloth nearby!)
This is where little ones light up. Every single time.
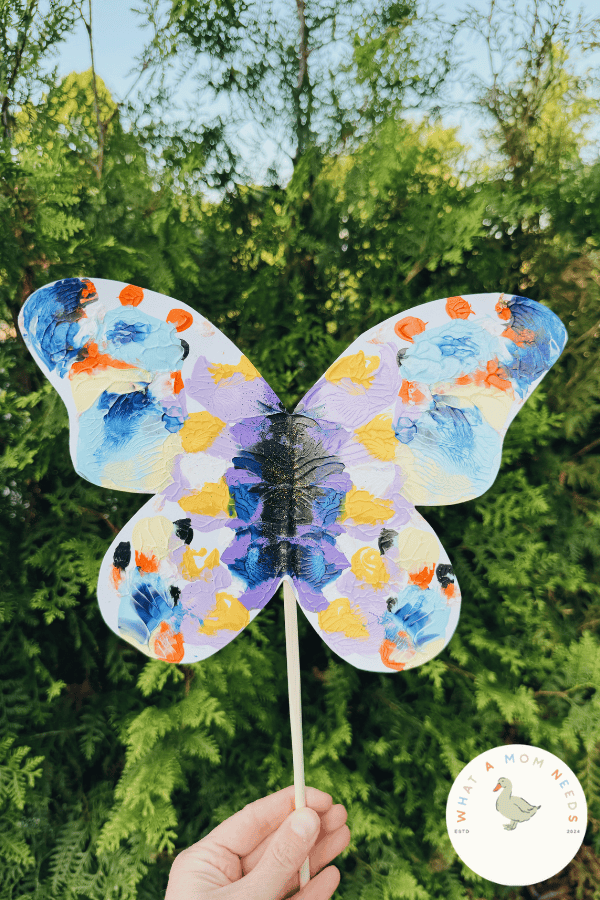
Step 4 – Add some sparkle (optional)
While the paint is still wet, you can sprinkle a bit of glitter on top.
We went for gold sparkles — because why not?
Totally optional, but very satisfying.
Step 5 – Let it dry
We let ours dry overnight, just to be safe.
Flat surface, somewhere it can stay untouched (ish). Kids are curious, I know.
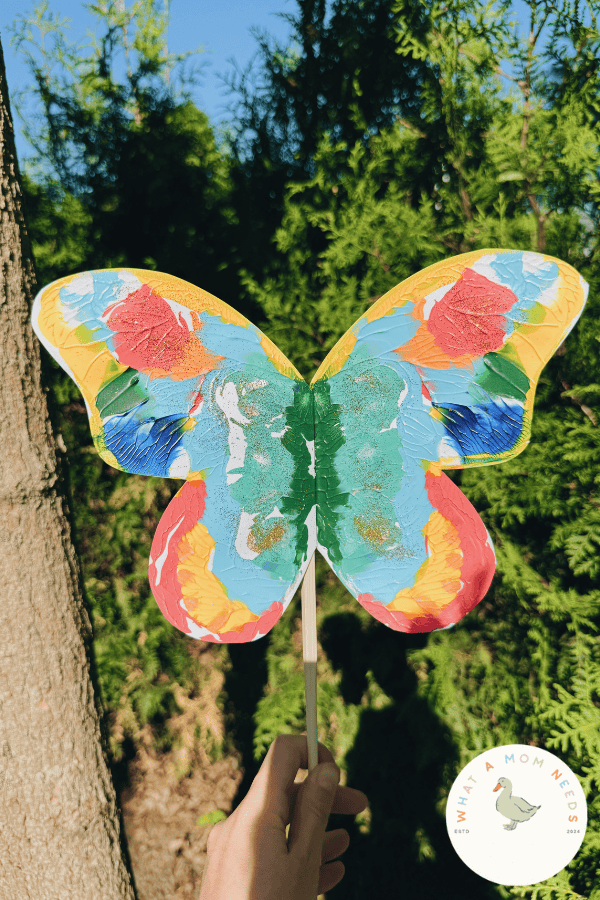
Step 6 – Turn them into wands
Once everything’s dry, glue a wooden stick to the back of each butterfly.
Sushi sticks, skewers, popsicle sticks — whatever you have on hand works.
Now you’ve got yourself a butterfly wand. Or three.
Don’t forget to print the butterfly template — here it is!
Like this post? Pin it to save for later!